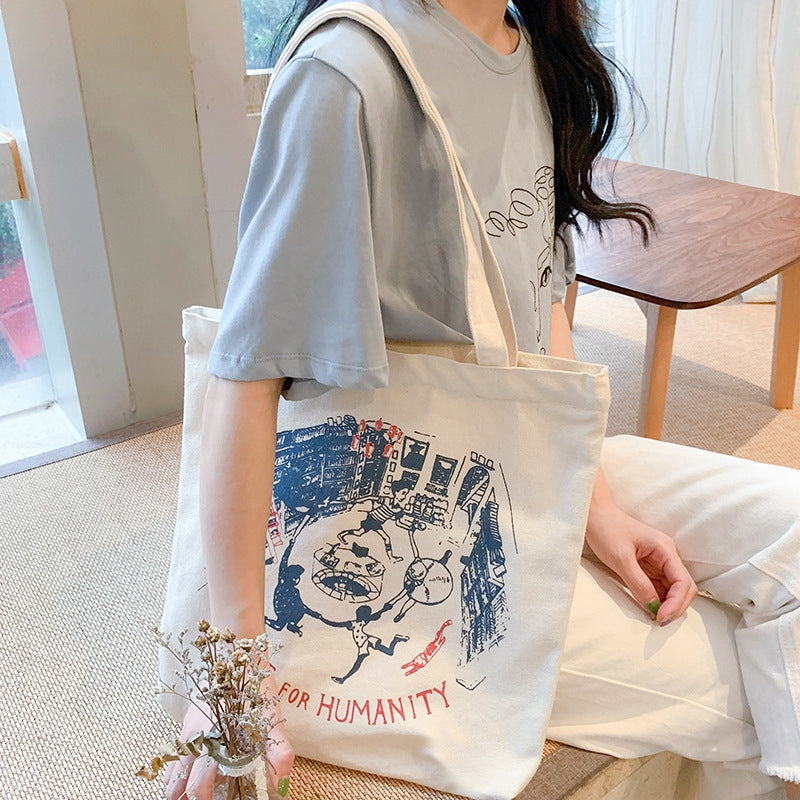
Customizable features on tote bags provide you with an amazing opportunity to meet your ideal design needs. Such as creating a pocket in front, printing artwork, adding straps or handles to the tote bag, etc.
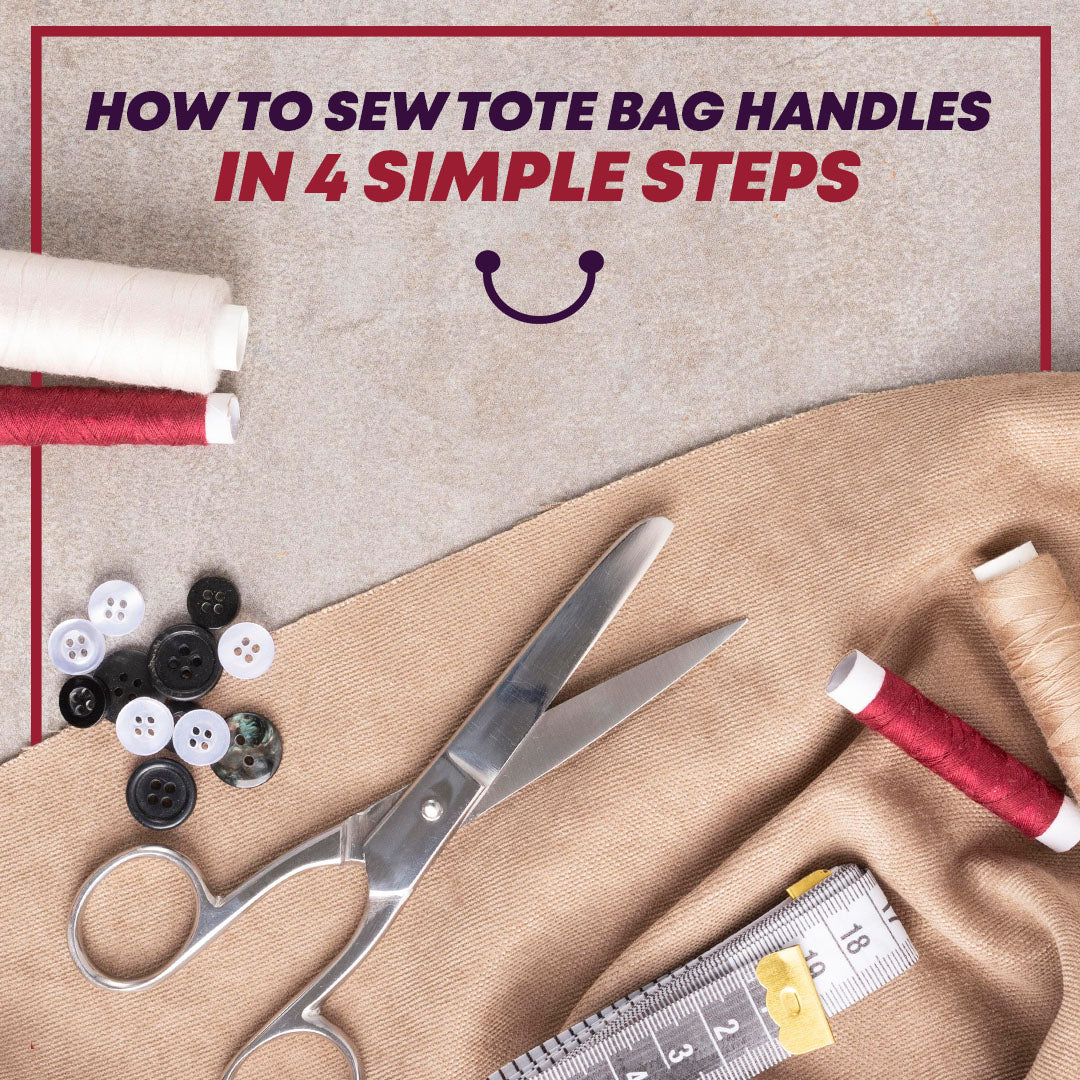
Today we will be looking at how to sew tote bag handles and customize your bag in your way. By following this guide, you will be able to sew the handle fabric you would desire, how strengthen your handles and straps, and adjust the optimum handle length for you to wear. If you have your favorite bag ready, we may start our DIY project right here, right now!
Find the Perfect Handle Size and Fabric For You
As you may have guessed already, calculating the ideal length and selecting the fabric types of the handles will be our first step. To do so, you may think of the realistic scenario of you using your tote. To give an example, you can take into consideration the following topics.
What Will You Carry in Your Tote
The primary aim you wear a bag is to carry and transport your needs in everyday life. Therefore when deciding the measurement and the fabric type will be essential to support this goal. If you are carrying some simple goodies such as a wallet, phone, charger, a notebook like you need in your routine, you may go with a basic cotton/canvas handle fabric. However, if you will be carrying your groceries from your local market to your house, you may need sturdy stitched and heavy fabric handles.
The Size of Your Tote
No one wants a tote bag that is not practical and proportional. So when measuring and cutting your fabric, you must also measure your tote bag to decide your ideal length. In doing this, also taking your shoulder and arm measurements into consideration would be beneficial to create the perfect look.

How Will You Wear Your Tote Bag
Your tote bag is a fashionable and practical product that is almost always going to be attached to your body while using. Therefore you may simply walk in front of a mirror and plan your outfit with your tote. This way, you can decide whether you will wear your bag over the shoulder, crossbody, or by the handle with your hand. Of course, you do not have to pick just one of the ways. However, picking a favorite would help you a lot.
When Are You Going to Use the Bag
Let’s think for a second of you and your tote bag in action. Where are you using it, and what situations are you in together? A beach, maybe? According to this scenario, you will need to find a fabric that cannot quickly unravel when touched by humidity and water. Or let’s consider that you will be going to fancy museum dates with your tote. You may select a fabric with color or a pattern to create a fun look.

How to Sew Tote Bag Handles
After deciding on your design objectives, we can start with the DIY project. First, let’s run through the necessary items listed below.
Here is What You Need

- Sturdy fabric. Since you will be carrying the whole weight by the handle, you should find a strong enough fabric to lift and transport anything. When buying the fabric, you may also lookup for the printed or colored styles to go with your design preferences.
- Tape Measure
- Pins
- Fabric Scissor
- Sewing machine or a manual sewing kit
- Iron
Step 1: Measure the Fabric
Once you bring your fabric home, you can wash and dry your fabric before using it. If you iron the material at this point, you can prevent a lot of mistakes in the further steps. After making sure your fabric is ready to work on, you can place the cloth on your working table. Then you can use your measuring tape to measure triangles that are three sizes wider than your ideal handle width. Since we will be folding the rectangular strip, you can leave some seam allowance.

It would be best to keep in mind that you will be sewing the edges of the handles to the tote bag. Therefore you can adjust the measurements according to your assembly stitches. You can use already existing templates to ensure you are doing your sizing correctly. Once you are sure of the sizing, you can simply draw lines or dots to the backside of the fabric to define your cutting lines.
Step 2: Cut and Fold it

On how to sew tote bag handles, our second step will be cutting and folding the fabric strips. When cutting the fabric, you can leave small distances between the scissor and your drawn lines to let some seam allowance. By going through the whole rectangular strips, you can cut the expanded handles.
Afterward, you can grab your pins. With the help of measuring tapes and guidelines, you can take the edges on both sides and fold them inwards to make three layers on top of each other. Once you fold the strip along the long edge, you can pin it to stabilize its form and size of it.

Note: For a Strengthen Fabric Place Interline
We mentioned you might need sturdy handles or straps according to your use scenario. Especially when carrying heavy or fragile goodies, it is essential to keep them safe while transporting them. Therefore if the three-layered fabric seems insufficient, you can always place an interline to your strip.
For this step, you can find a way more sturdy and durable fabric. Afterward, you can measure the interline by centering it to the drawn or cut-out fabric handle. Once you cut the interline, you may simply place it in the middle portion of the expanded handle fabric and fold the edges inward. One of the tricky parts of this step might be pinning through the sturdy interline and three-layered material. However, since stabilized edges create the perfect sewed handles, you should not miss this step.
Step 3: Sew Along the Long Edges

Our third step is to sew along the pinned edges and basically create the finalized look of the handles. If you have a sewing machine, your process will be faster and easier. You can just put aside the pins once you are close to them and sew along the long edge of the folded fabric. However, it is also OK not to have a machine. With a basic sewing kit with thread and needles, you can also stitch the long edges by following the marks and pins. You can also pick the color of the thread to give it a stylish look.
Step 4: Stitch it with Tote Bag Body
Once the handles are done, it is time to put everything together. Place your tote bag on your working table and flatten the fabric surface to prevent any miss placement. Then you can adjust the handle stitching points by measuring or by eyeball. Just a note on this step, please make sure that both ends are at the same level of depth inside the bag so that you can carry the goodies in balance.

After placing the handle ends inside the totes’ top section, you can pin them and start stitching the handles and bag altogether. At this point, having straight stitch lines is important since these will be seen from the outside. Moreover, you can create a rectangular, stripe, or diagonal patterns using stitch lines. Once you stitch and ensure that all four ends secure your handles, your tote will be ready to use!
Bonus Step: Style it Your Way
Here is a fun tip: Using accessories will draw attention to themselves and can hide non-linear stitches. Therefore we suggest you take advantage of these fun and chic accessories to level up your fashion game.

Printing on the Fabric
Of course, this is a step you should do even before getting into action. If you have a cute pattern in your mind, you can always get them printed on the fabric beforehand. This way, your tote will become a unique piece.
Sewing Another Layer of Fabric Strip

If you have picked a natural cotton fabric to match your tote bag and its durability, keep in mind that you can still style it in your own way. To add texture, color, and sturdiness to the tote handles, you can sew another layer of fabric to the handle strip. But remember that the easiest way to apply this design is doing it before you sew along the edges. This way, your stitching lines will be on the inside of the fabric and will have a clean look on the outside.
Braiding and Knotting Stylish Head Wraps

Oh, so you are a fashion nomad. We got you! Once you are done with stitching and sewing your handle and a tote bag altogether, you can always still style it with head wraps or scars. For this one, you can pick any fabric you would like to use and just braid the handles together. Or you can simply make a cute knot with a bow. This way, you can change your accessory anytime you want.

