Taking art on-the-go has never been easier than with this DIY art tote bag! The front pocket has room for all kinds of goodies like a paper pad, makers, colored pencils, crayons, scissors, and any other art items your kiddo wants tote along. The pouch is completely customizable depending on the art supplies you want to add!
The high-quality canvas tote bag is also the perfect size to fit a couple of coloring books or a sketchpad, making it great for carrying all of the art supplies your budding artist could need while on-the-go. You can also grab different colored tote bags to create your own bag. Perhaps pink and red, or red and white. The options are endless!
Take a look at the full tutorial below to see how you can make your own fun DIY on-the-go art tote bag!
Supplies:
- High Quality Promotional 100% Canvas Tote Bags (Sapphire and Turquoise)
- Hot Glue Gun and Glue (You could also use Fabric Hot Glue)
- Scissors
- Ruler
- Chalk
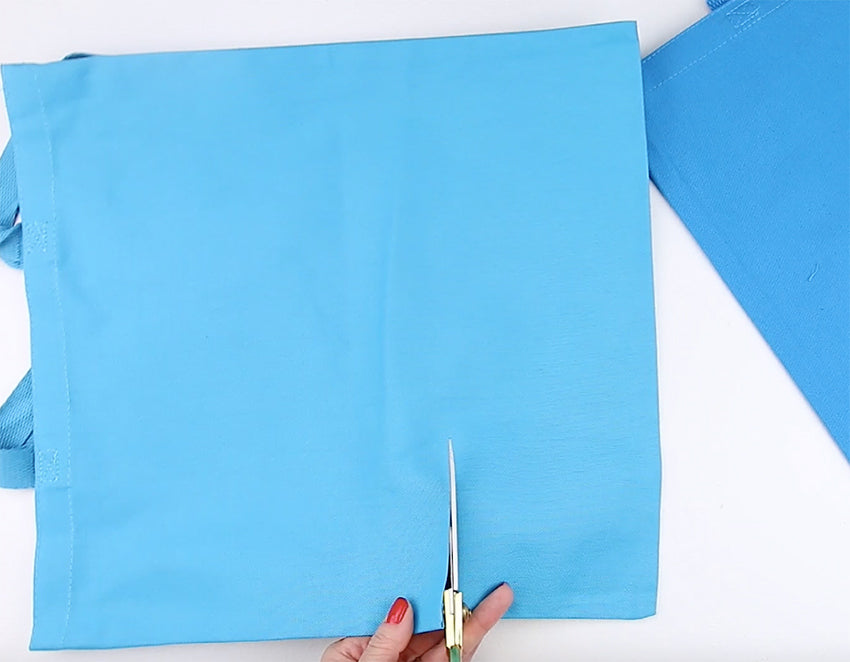
Step 1: Grab the turquoise bag and add a mark 5” from the bottom.

Step 2: Use your scissors to cut a straight line to remove the bottom of the bag.
Step 3: Fold the top over about a ¼". Add a line of hot glue to the inside of the bag.

Step 4: Fold the top over and press is down to make sure the glue is adhered. Continue adding glue all around the top until you have glued the entire thing down. This process will help reduce fraying when the makers, pencils, etc. are taken in and out of the pouch.

Step 5: Grab your ruler again along with a piece of chalk. Now is when you will determine the size of your slots. For my bag, I wanted to include paper, markers, and scissors. To get the right measurements, you can place all of the items you want inside of the exterior pouch in their designated spaces and measure.

Step 6: You’ll want to include a little extra space on each side to ensure enough room for each item after you’ve added the glue. Place your ruler at the opening of the pouch and use your chalk to add the measurements you want by adding small marks.


